Streamlined with integral LED lights, easily selectable with a click, and a cutting-edge autofocus system.
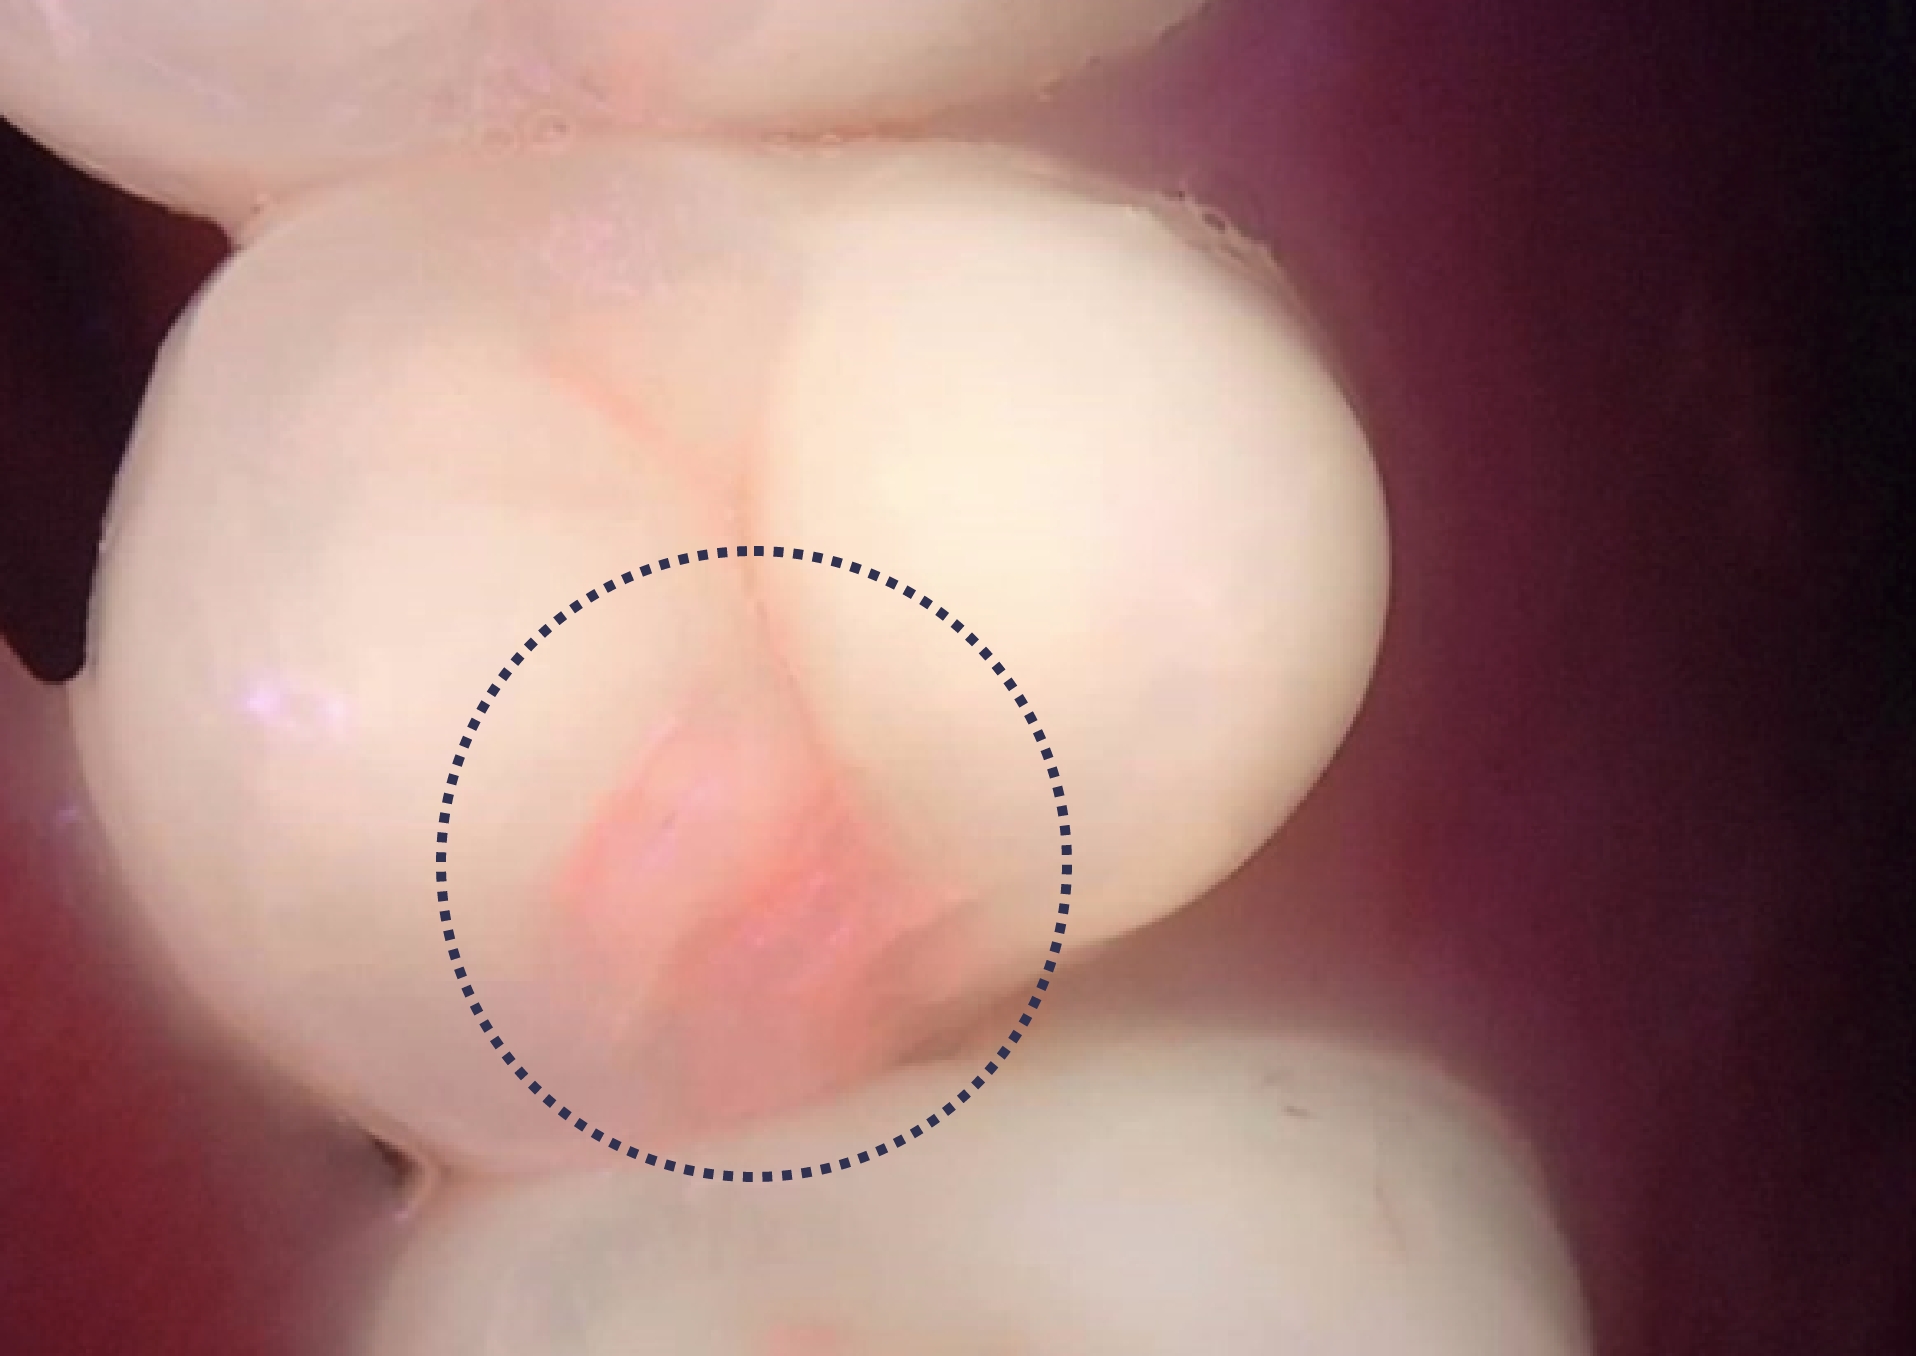
Unleashing the power of the most meticulously researched fluorescence imaging technology.
Our care and empowerment philosophy resonates with patients who crave something truly remarkable.
Embark on a journey of anxiety-free, next-level preventive dental care.

1. Seamless Setup
Unveiling the Qraypen C’s potential is a breeze. Your package includes a 16-foot USB 2.0 cable equipped with data, power, and USB connectors for effortless connectivity. Attach the data connector securely to the base of the Qraypen C’s handpiece, while the USB connector easily slots into your computer’s USB port. Ensure consistent power by linking the power connector to the provided adapter. For optimum results, firmly connect the USB cable to both the camera and your computer, favoring rear USB ports when possible.
2. Initiate Imaging Software
Launch the imaging software to get started.
3. Protect with Care
Employ the protective sleeve to ensure the safeguarding of patients, clinicians, and equipment against contamination.
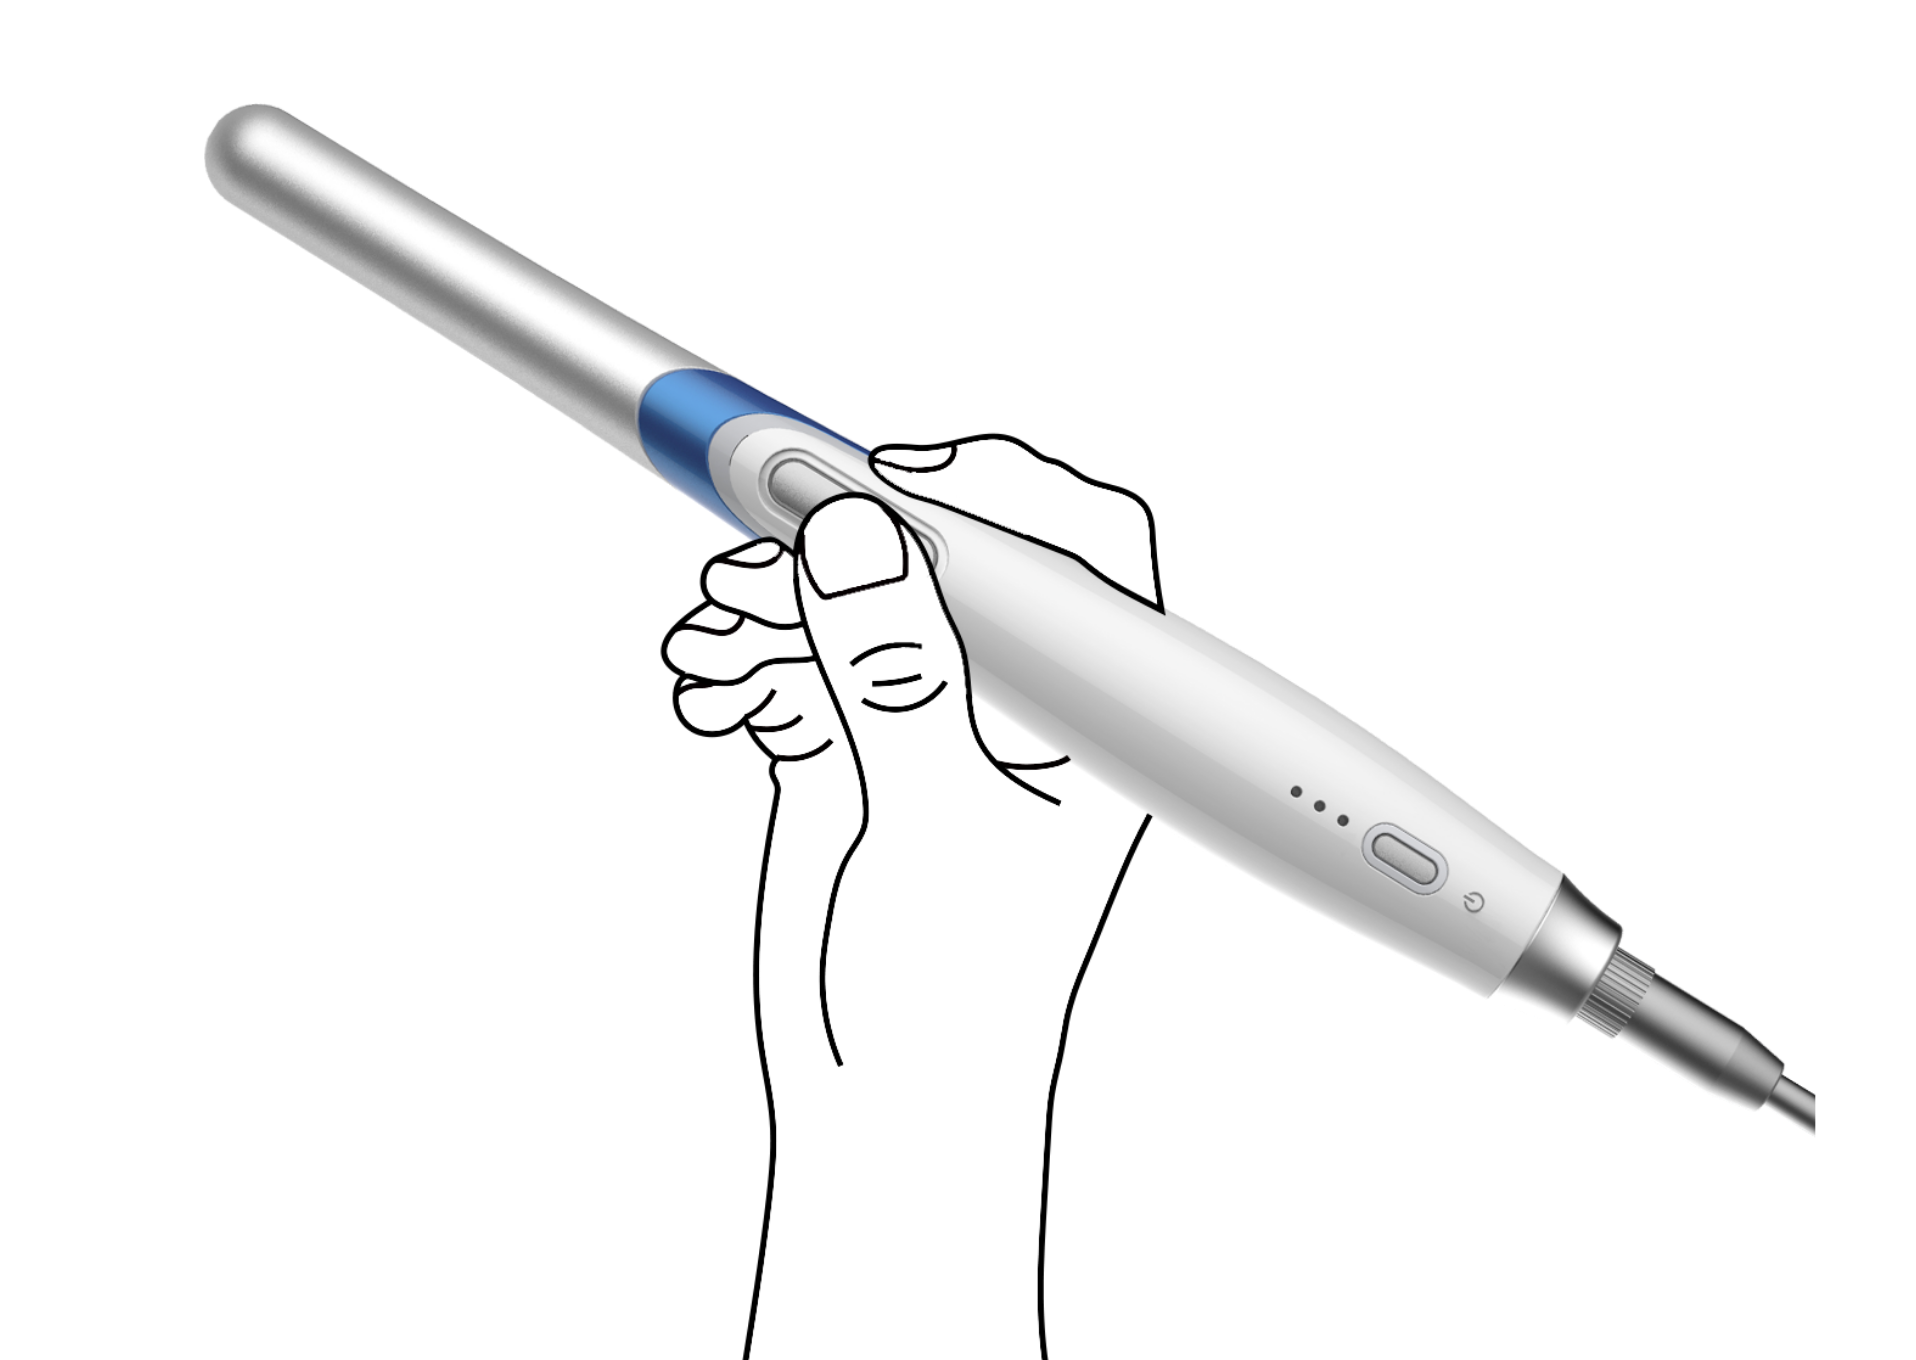
4. Customize LED Settings
Long-press the Mode button for 3 seconds to enter LED selection mode. Briefly press the Capture button to toggle between LED light options: white light, blue light, or alternating white and blue light. Adjust LED brightness (levels 1 to 3) with a brief press of the Power button. Confirm your LED light or brightness choice by long-pressing the Mode button for 3 seconds.
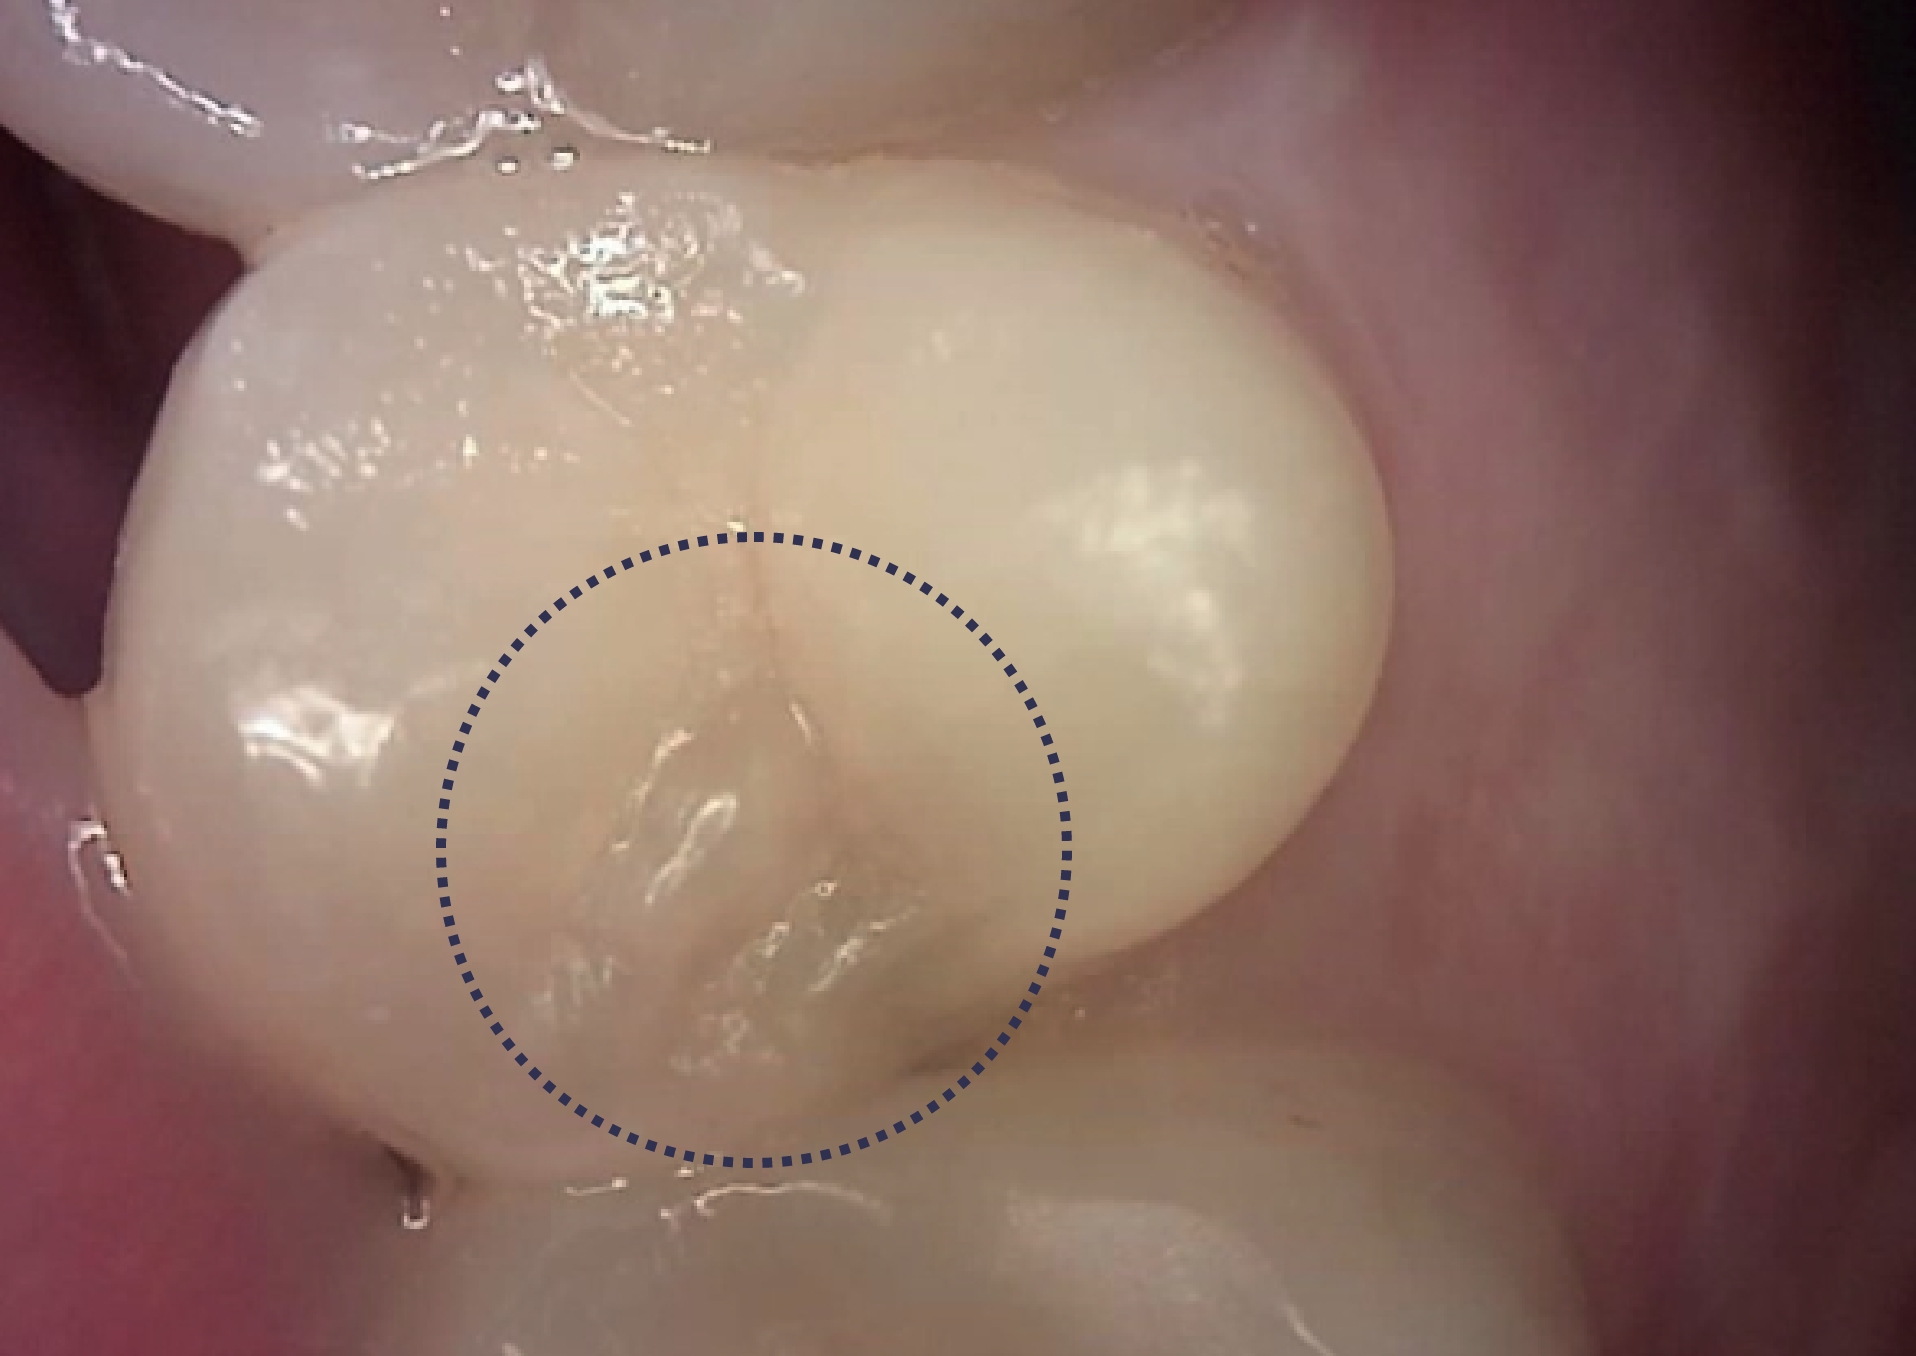
5. Target the Area
Position the camera over the area you intend to examine. Instant real-time video is displayed on your monitor.
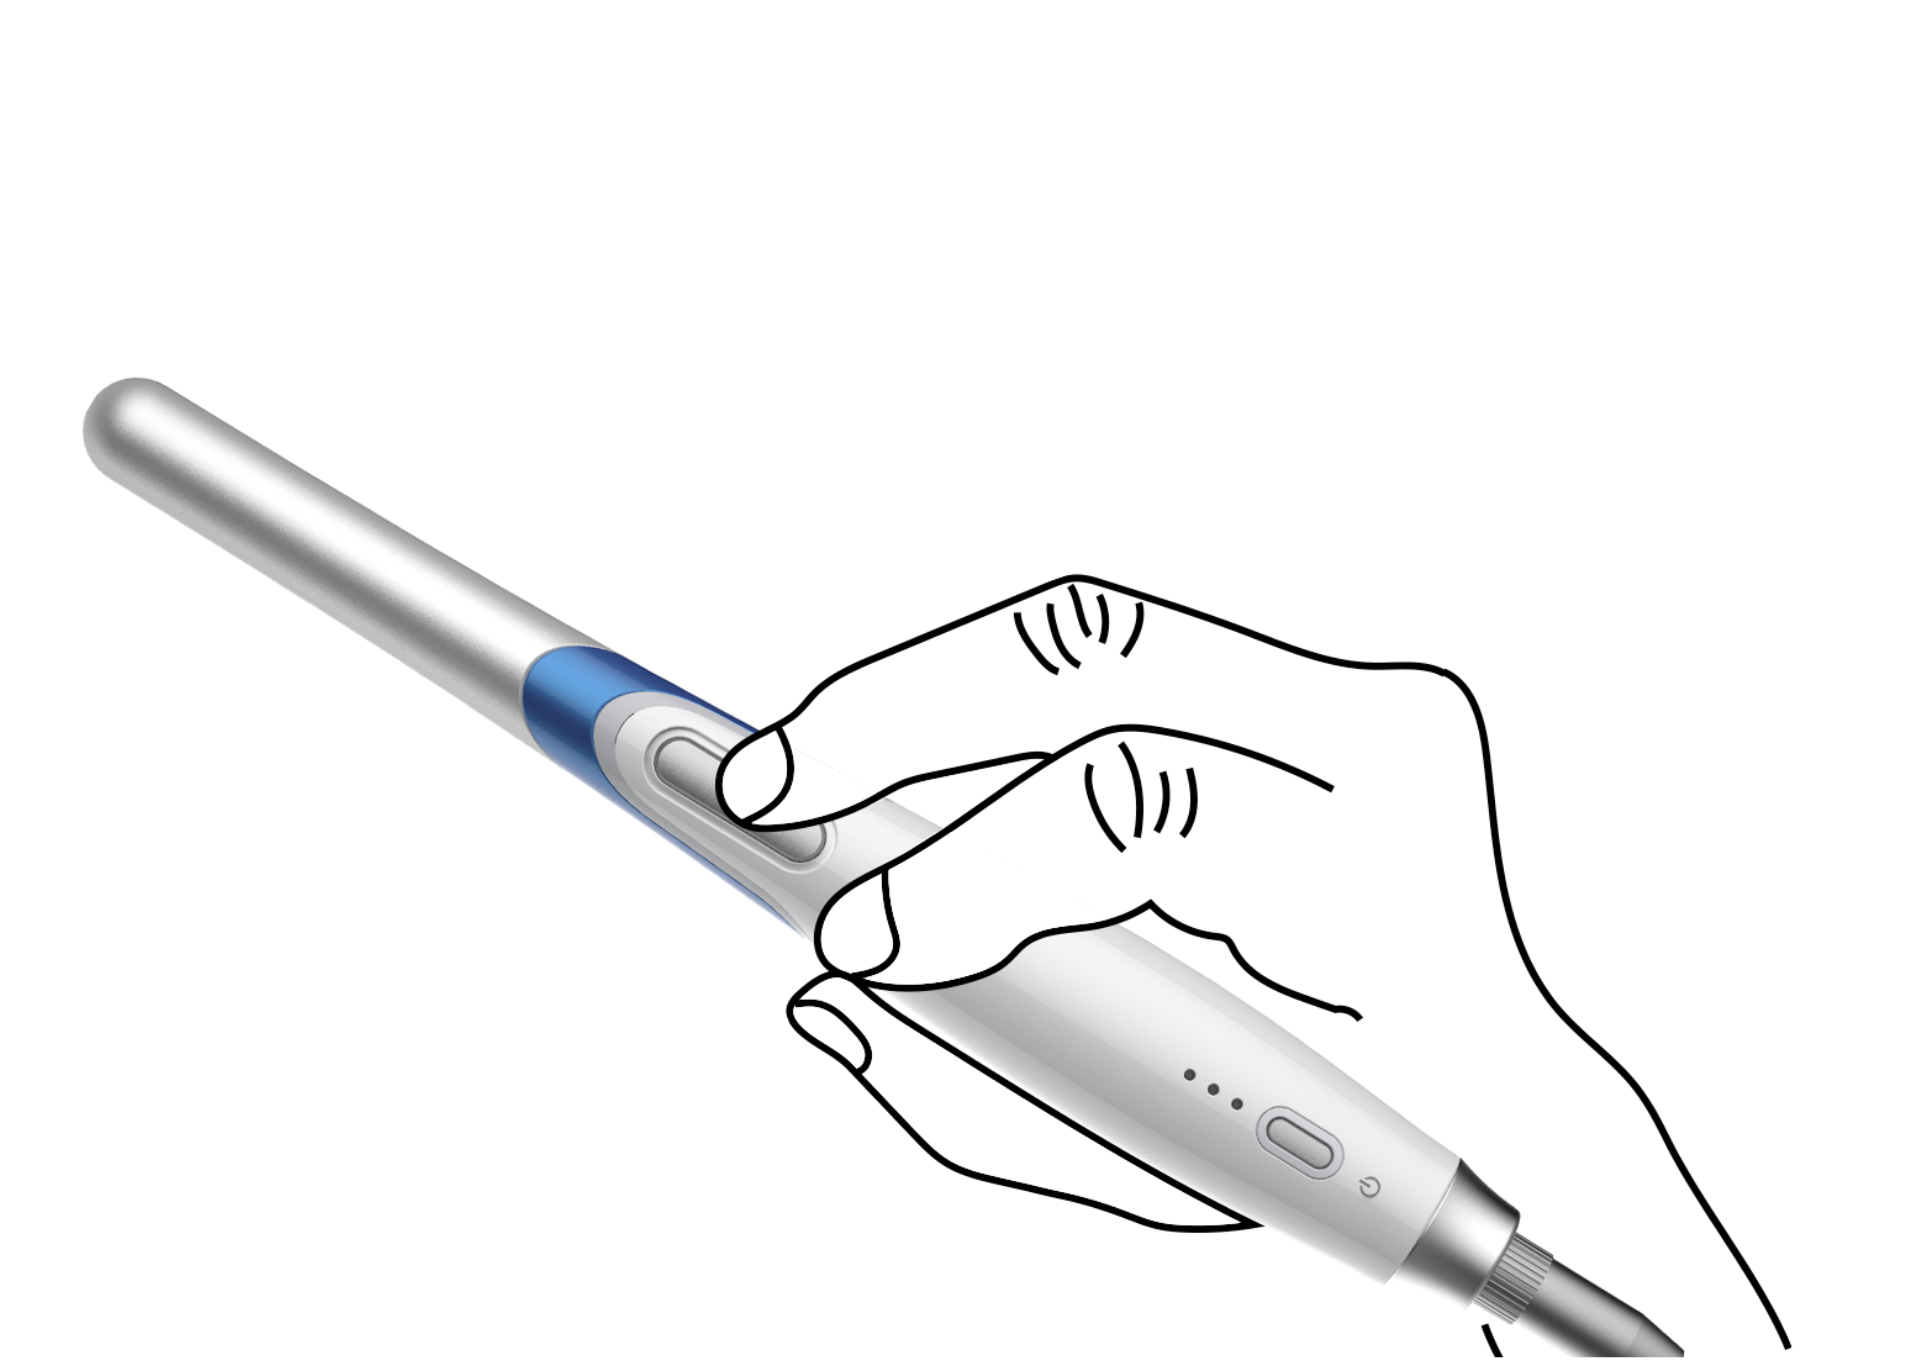
6. Capture with Confidence
When ready, press the Capture button on the handpiece to freeze a video image. The still image promptly appears on your monitor.
7. Completing the Process
Once image acquisition wraps up, discard the protective sleeve for a job well done.
Effortless, clear, and efficient —The Qraypen C guides your dental journey with precision and ease.