ㅇ Undergoing the FDA Approval Process as a Class 2 Medical Device
ㅇ CE certified under MDR 2017/745: Class I
LinkDens-QC is at the forefront of dental imaging technology, capturing comprehensive photos of patients’ entire dental arches with unparalleled precision. The device not only provides a detailed view of teeth but also instantly identifies affected regions. This transformative capability empowers dental professionals to engage in immediate chairside discussions, facilitating personalized care plans that meet patients’ unique needs.
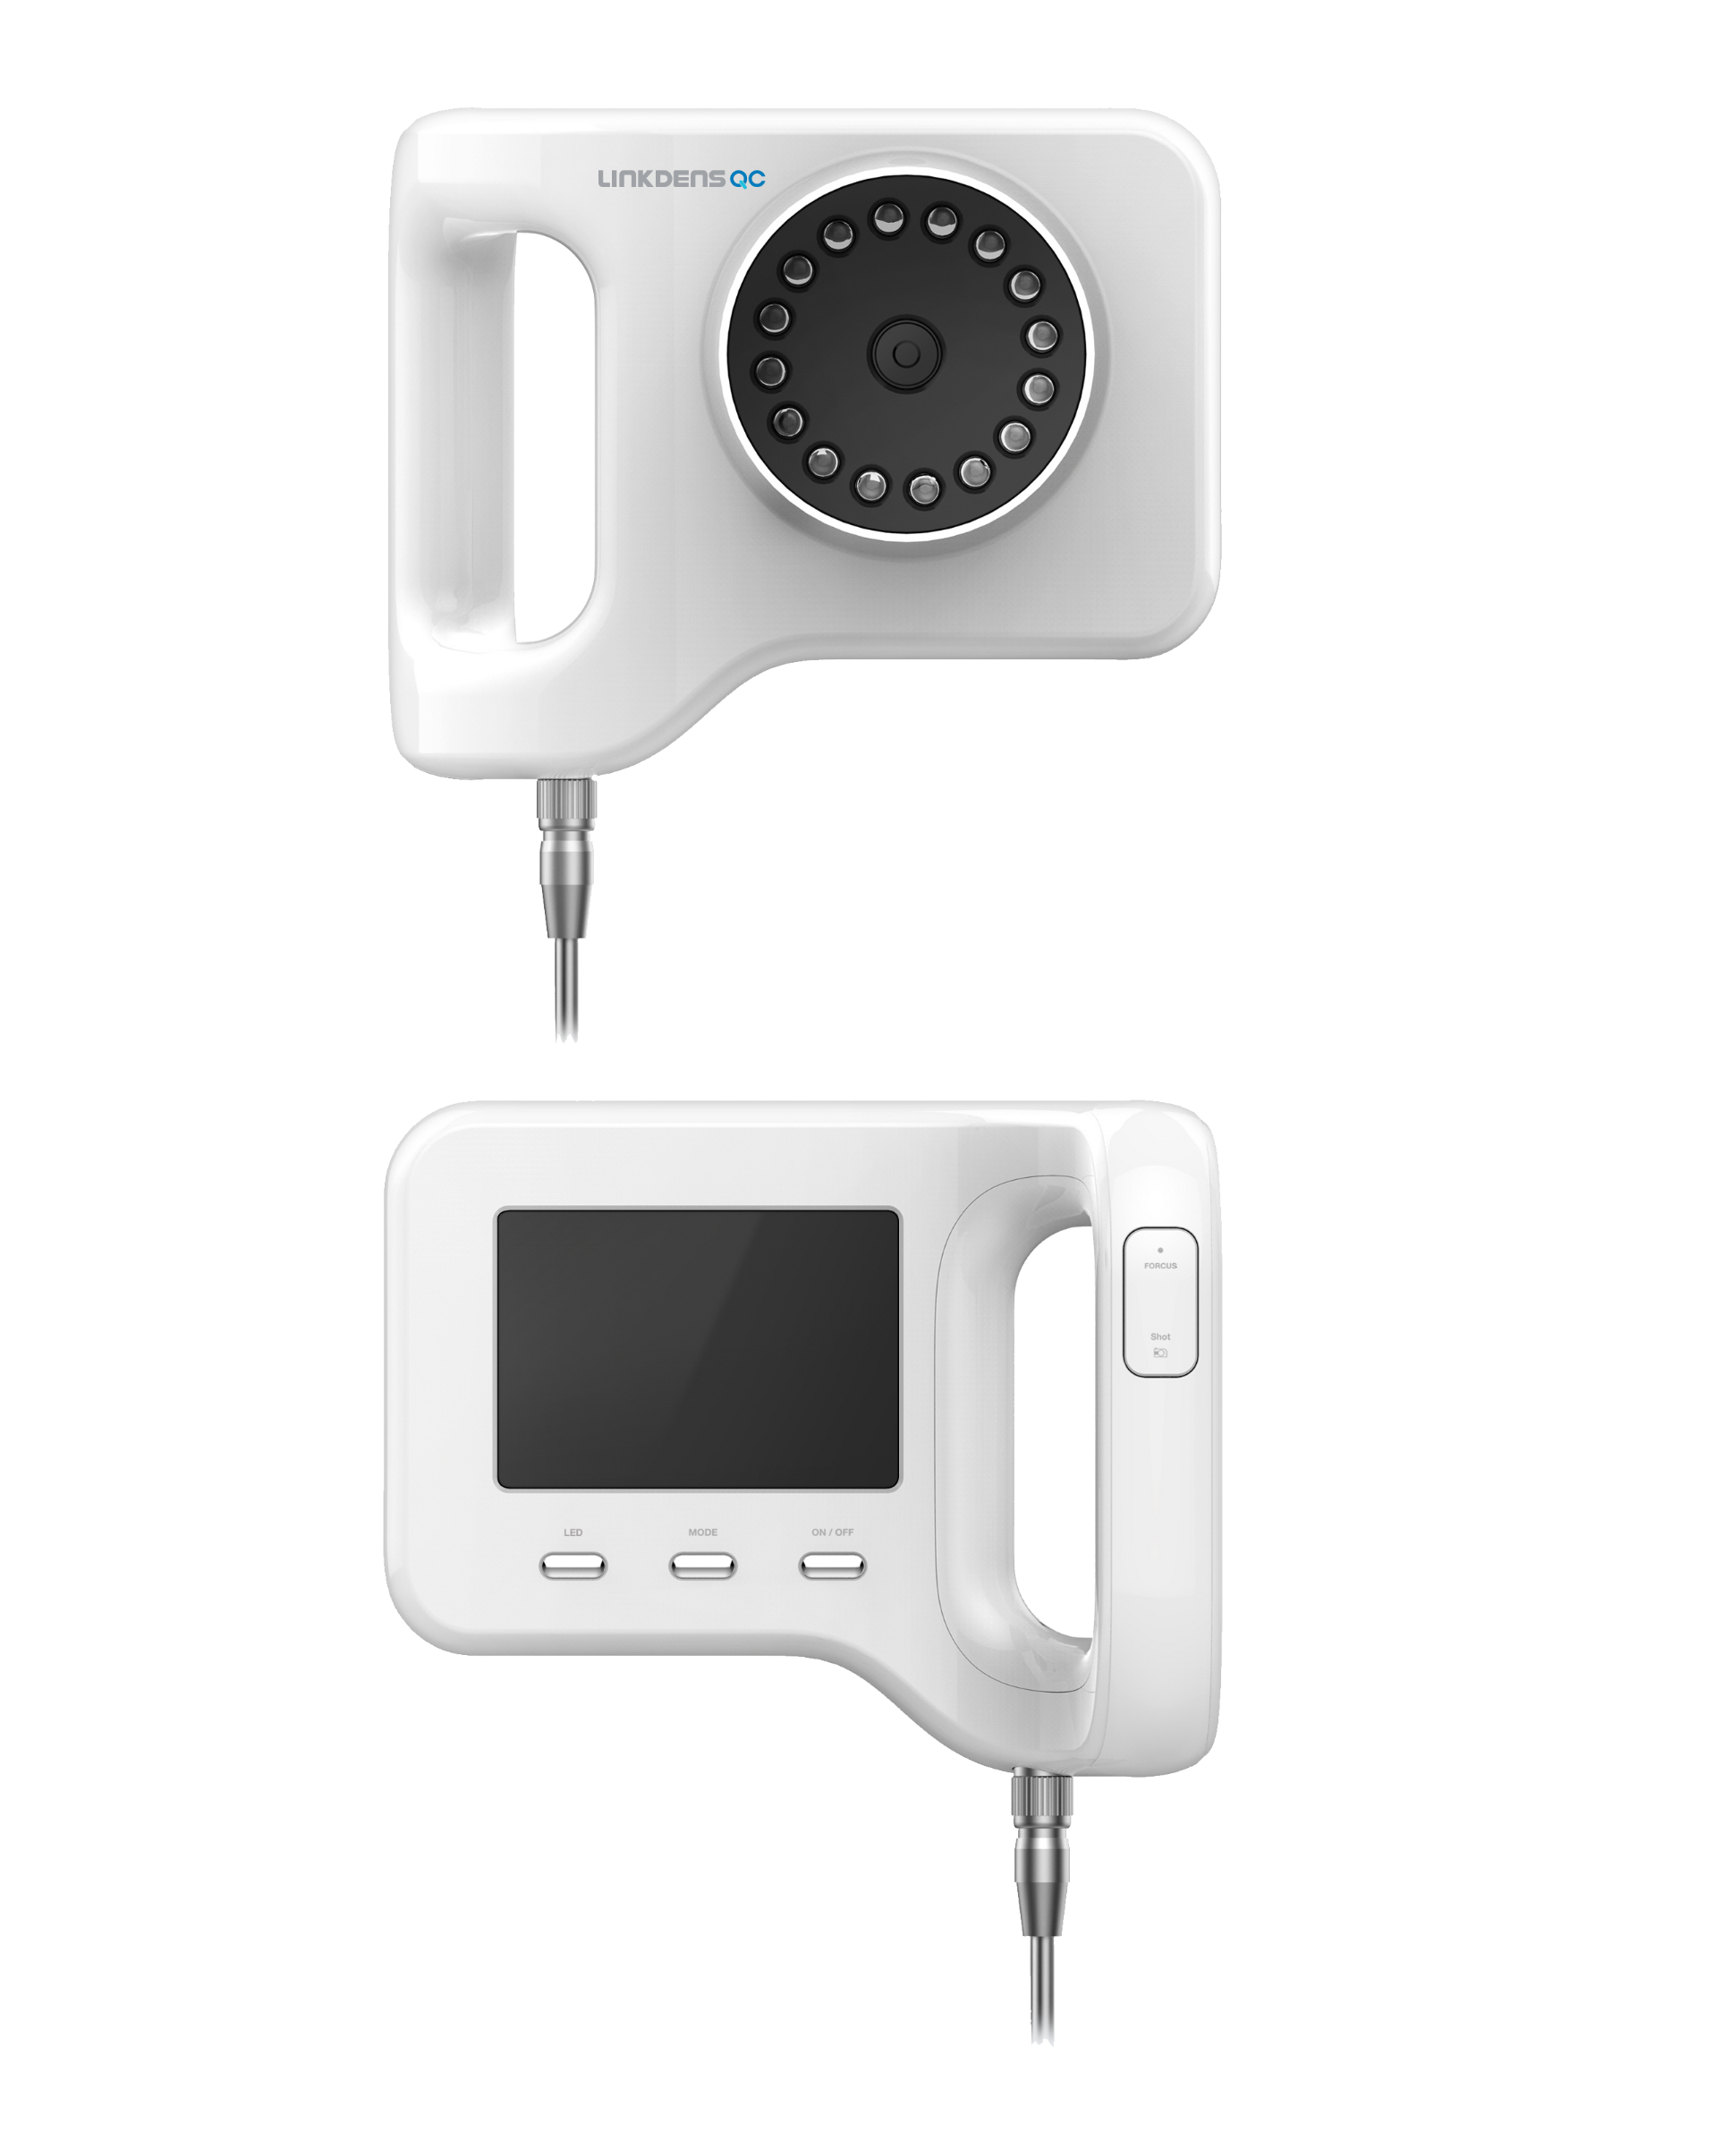
Streamlined with integral LED lights, easily selectable with a click, and a cutting-edge autofocus system.
Unleashing the power of the most meticulously researched fluorescence imaging technology.
Our care and empowerment philosophy resonates with patients who crave something truly remarkable.
Embark on a journey of anxiety-free, next-level preventive dental care.
1. Connect and Power Up
Attach the 2-way cable to the camera’s base for power input and video signal. Connect the gender converter to the 12V output terminal of the DC Adapter. Connect a DC 12V power supply to the cable. Plug the USB cable into your PC. Press the Power switch for 2 seconds or more to turn the device on.
2. Switch Modes
Launch the imaging software to get started. Turn on the device to “Off” mode initially. Press the mode button in “Off” mode to switch to Anterior shooting mode (White LED lit).
3. Capture Images
Anterior
Anterior imaging with the patient facing forward and fixed with a retractor With the patient’s head turned to the left, only the right retractor is pulled toward the posterior region, and the posterior region is photographed. With the patient’s head turned to the right, only the left retractor is pulled toward the posterior region, and the posterior region is photographed.
Occlusal
- Upper side: The photographer moves over the patient’s head, pulls the upper lip with a lip-hook type retractor, inserts a mirror into the patient’s mouth, and then shoots. Have the patient lower their chin.
- Lower side: The photographer moves to the patient’s 7 o’clock direction, pulls the lower lip with a lip-hook type retractor, inserts a mirror into the patient’s mouth, and then shoots. Have the patient lift their chin up.
Maintain a 5-20cm distance from teeth and avoid skin contact. Press the Focus button after selecting the area. Camera focuses within 4 seconds, press the shooting button for a still image. For Occlusal Mode, press “Mode” in “Anterior Mode” to switch.
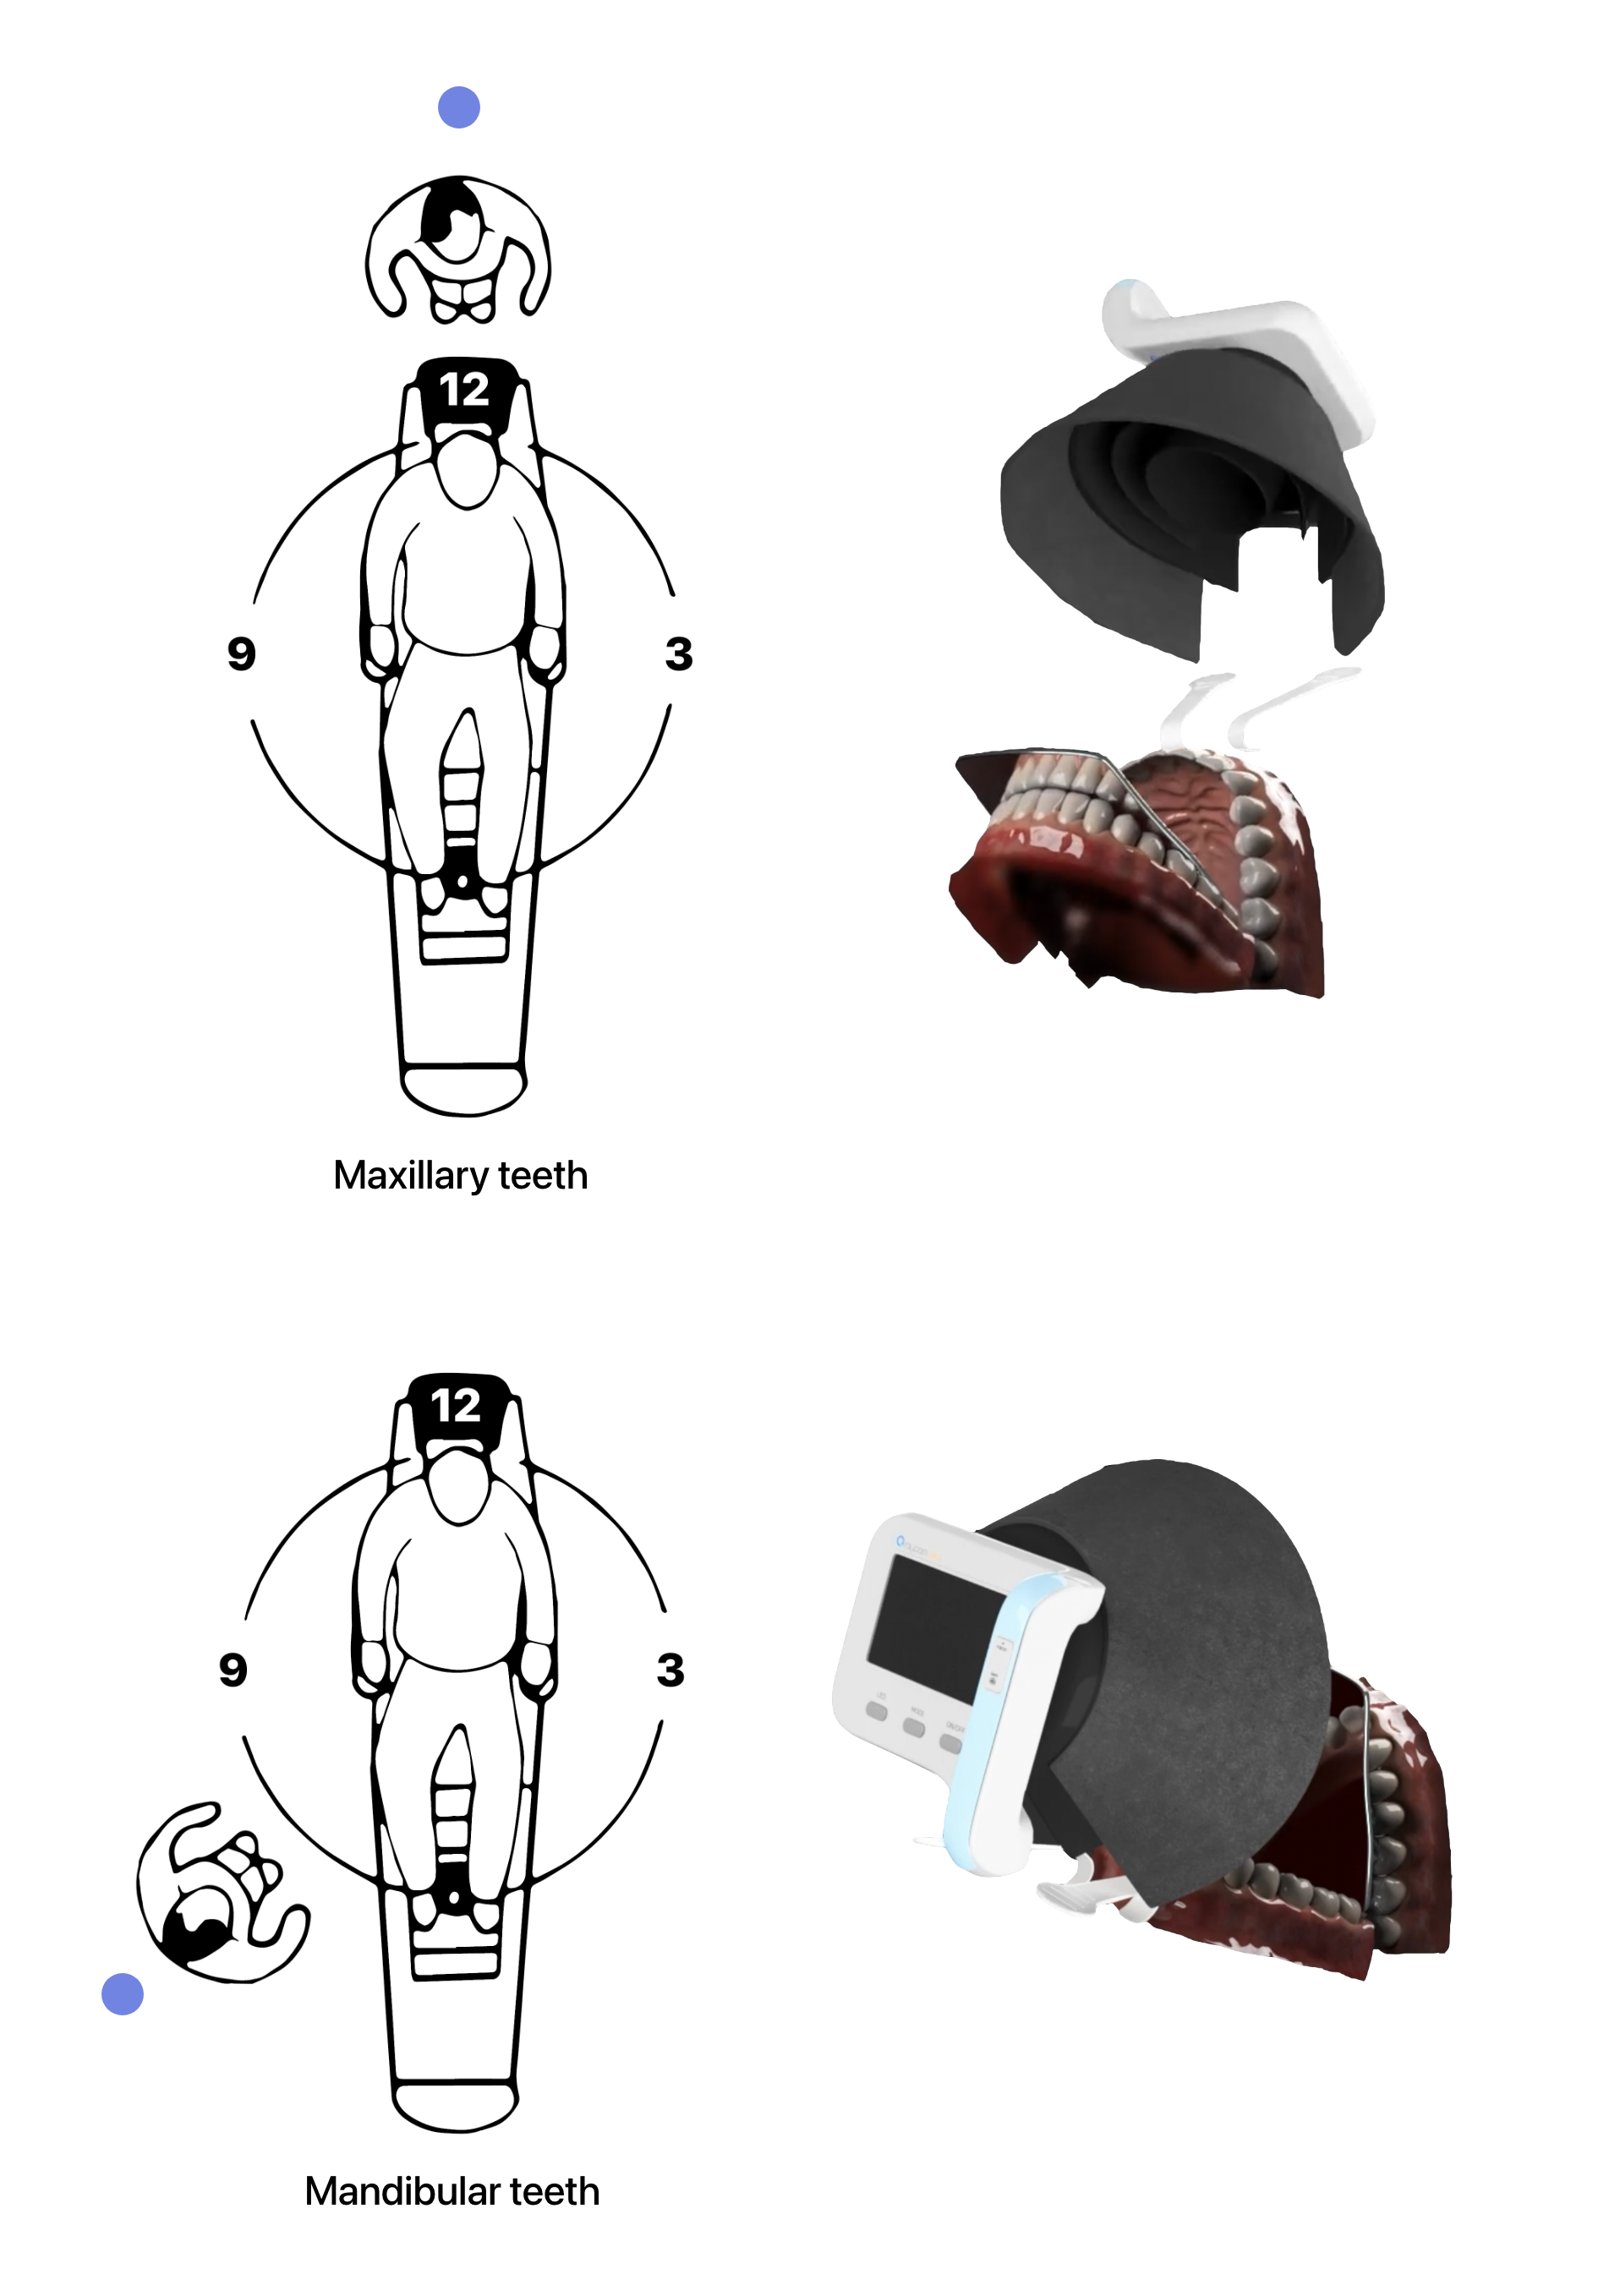
When capturing occlusal arches with the LinkDens-QC, clinicians can employ a mirror to extend their view to the distal aspect of tooth number 31:
When taking photographs of maxillary occlusal teeth, stand at the 12 o’clock position (behind the patient). Place the mirror next to the mandibular occlusal teeth and capture images of the reflected views.
For mandibular occlusal teeth photography, position yourself at the 7 o’clock position. Place the mirror next to the mandibular occlusal teeth and capture images of the reflected views.