
Qray Clinic Experience: The First 90 Days
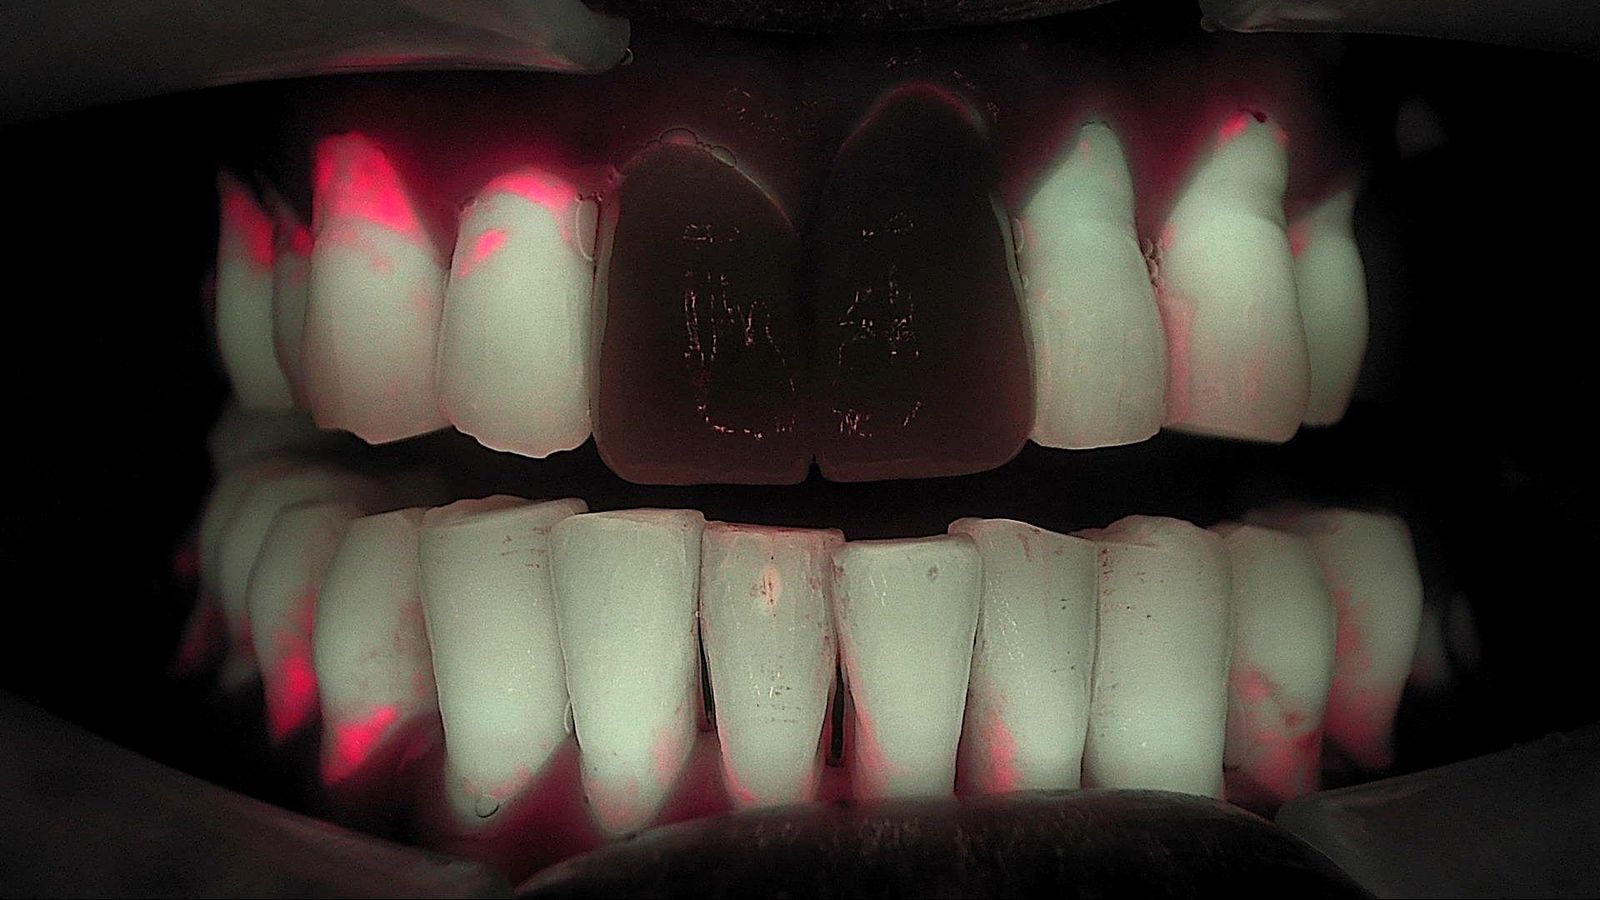
What does a Qray clinic experience actually look like after the box is opened? This article pulls together what newly onboarded general dentists and long-time users told each other while sharing cases, arranged as a first 90 days. It is not one practice's diary. It is the pattern that kept repeating across many operatories, split into month one, month two and month three, including where people got stuck and what got them unstuck. If you are weighing fluorescence camera adoption, think of it as a preview of the first quarter.
Month one: why isn't it showing up?
The first month's problems were mostly about capture conditions, not hardware. One dentist who had placed a Qraypen C in every operatory admitted the images felt too soft to show patients with confidence. The first replies were practical: set a firm intraoral rest and have an assistant blow air across the field to cut fogging. If positioning takes too long, breath condenses on the lens, so experienced users suggested practicing the rest position on its own until you can seat the tip and capture in one motion. Using the mode that captures a white-light image and a Qray fluorescence image together, rather than fluorescence alone, reduces the bloom that can make a tooth look washed out.
"It wasn't red, so I deleted it" is another month-one story. A dentist new to the device imaged a suspected carious molar from the occlusal, saw no red fluorescence, and deleted the image. A crack line on the buccal also failed to show red, which left them unsure. Long-time users offered three points. When occlusal enamel is thick and the lesion has not reached dentin, red may not appear from the occlusal view, so take a periapical radiograph as well. Cracks sit close to the surface, so lowering the LED intensity or backing off a little often shows them better, while caries is best captured close and bright. And a recent crack may simply not be red yet. Keep the images that show no red. They are your baseline for next time.
With Qraycam Pro, one frontal view is not enough. Users repeatedly recommended adding an edge-to-edge or slightly open frontal view, because a lesion was nearly missed without it, plus left and right lateral views, which make cervical wear and cervical caries easier to see. Three wide views for the overview, then Qraypen C up close on anything suspicious: once that sequence settles in during month one, the rest gets easier.
Month two: what changes when images enter the consultation?
Patients start asking before you do. One dentist, on the day the device was installed, showed a patient an image of secondary caries around a restoration. Normally it would have been a "leave it alone unless it hurts" tooth, but the patient reacted first. In another case, a patient with discomfort on chewing saw a Qraypen C image of a suspected cracked premolar and understood right away, and the dentist noted that less time went into explaining with words and sketches. A long-time user summed it up: when patients can see the basis for a recommendation themselves, the gap between what the dentist means and what the patient hears gets smaller.
The same image can look different to a patient. In one clinical case, three adjacent molars were shown side by side. The crack line in the middle tooth was obvious to the clinician, but to the patient the caries in the neighboring tooth looked like the bigger problem. That dentist now images each treatment step and walks the patient through why one tooth needs a different treatment from the others. The image does not replace the clinician's judgment; it lets the patient follow it.
Month two's new question is how far to recommend. Once you image routinely, early caries and gaps around restorations show up more often than you expected. One newly onboarded dentist said it felt awkward to recommend treatment for every one of them to asymptomatic recall patients. The answers did not converge. One dentist shows the image, explains the options and lets the patient decide. Another weighs age and home care, explaining more actively for children and teens. Another sets timing by caries risk: recent caries experience, home care, and whether the patient will be unable to return for a while. What they shared was this: look at the image together, describe what is there honestly, and if you choose to monitor, re-image the same site under the same conditions next time. Proactive care is not about moving every treatment earlier.
Month three: what happens when the team captures and records accumulate?
The month-three difference comes from who takes the images. One practice captures frontal and lateral Qraycam Pro views for every patient before scaling. An assistant walks the patient through where the calculus is, and the dentist reviews last and confirms the diagnosis. The dentist wrote that the hygienists found it tedious at first, but once it was declared "our routine," it ran as a system, and hidden caries and cracks sometimes surfaced along the way. Another dentist said that praising the team even when images were imperfect steadily improved their capture skills, and that the single most important thing is for capture to become routine.
The footprint grows. One general dentist started with a Qraypen C only in the new-patient consultation chair, then saw how useful it was for showing treatment steps and placed one in every operatory. For new patients, three Qraycam Pro views become the chairside starting point for explaining overall status.
Records turn into comparisons. Around the three-month mark, the first patients you imaged begin returning for recall or the next treatment. That is when you can re-image the same site under the same conditions and put it next to the earlier image.
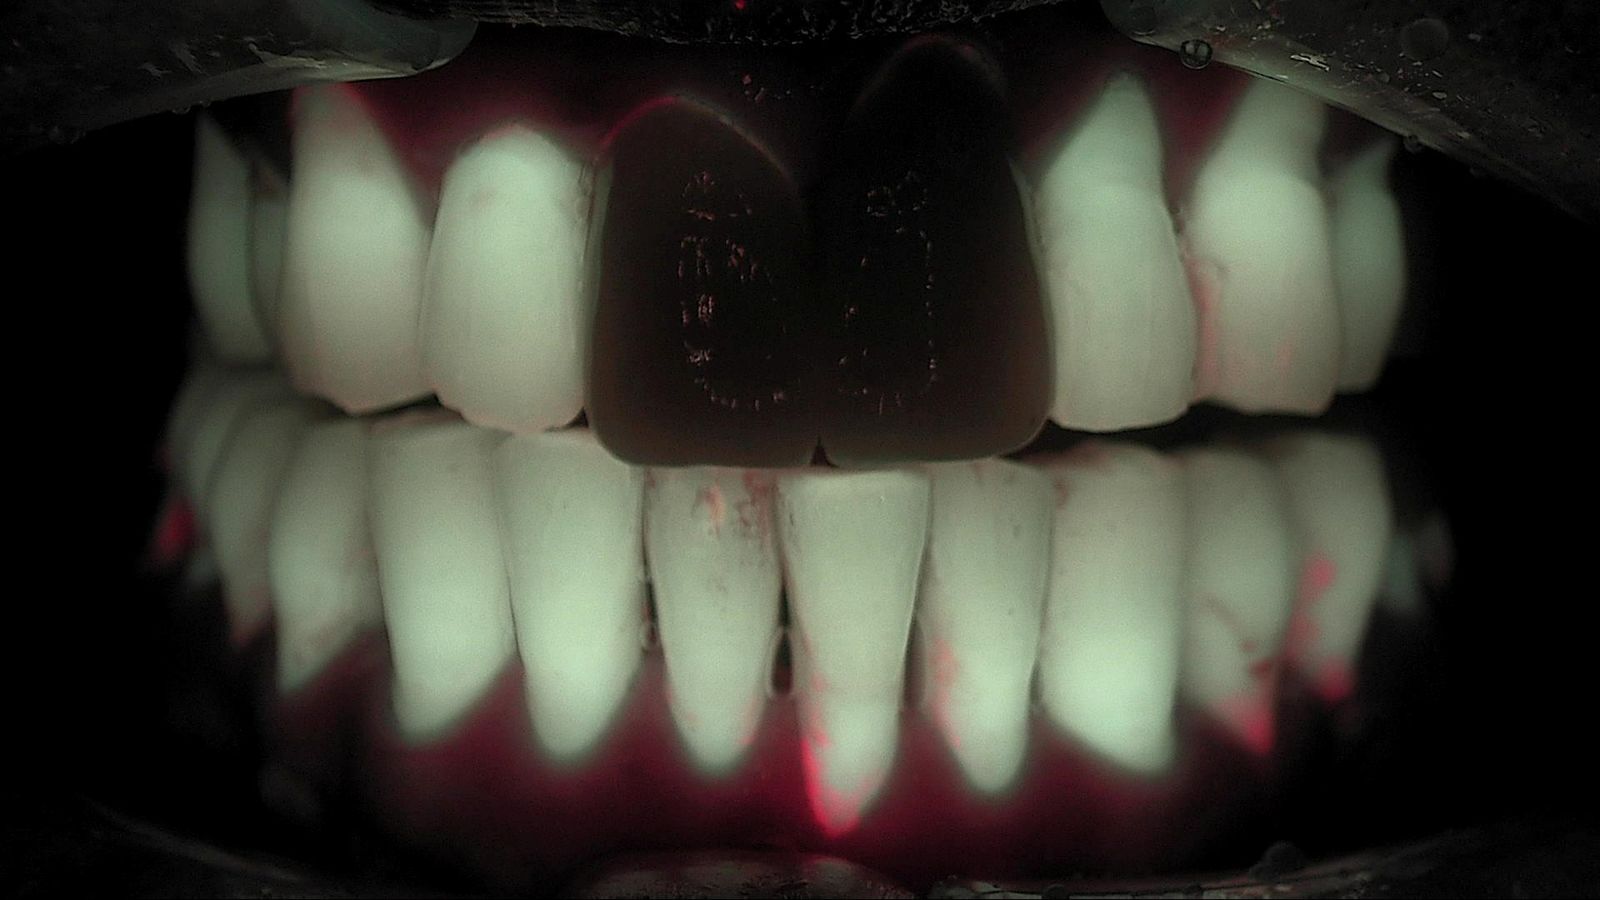
These two images show the same patient 10 months apart under the same conditions. Only a practice that kept a baseline at the first visit can make this comparison. This is one patient's case, and change varies with the person and their home care.
| Period | Common sticking point | What users found | What you end up with |
|---|---|---|---|
| Month 1 | Soft images, no red where expected | Rest and air; caries close and bright, cracks at lower intensity; frontal plus two laterals | A repeatable capture sequence |
| Month 2 | How far to recommend for asymptomatic early changes | Look together and describe honestly; time treatment by risk; monitoring is an option | Explanations built on a shared screen |
| Month 3 | Capture gets skipped on busy days when only the dentist does it | Make assistant capture and explanation a routine, with the dentist confirming last | A baseline image for the next visit |
What to decide before day one
Read the 90 days backward and you get a short list worth settling in week one.
- Who captures: assistants take the Qraycam Pro frontal and lateral views; the dentist checks suspicious sites with Qraypen C and makes the call.
- When: new-patient exam, before scaling, at each treatment step, and at recall.
- The default set: frontal (occlusion and edge to edge) plus left and right laterals, with a close-up of anything suspicious.
- How to show it: put the image up before you explain, and ask the patient what they see.
- Where it lives: keep every image, including the ones without red, as part of the record.
Capture basics are covered in Intraoral Fluorescence Photography: Four Repeatable Basics.
What's next
The images collected over those three months are stored in LINKDENS and delivered to patients as a report, so the same site can be compared at the next visit. For the practice owner, the first quarter is less about learning a device and more about building a team habit: show, record, and look again next time. The device does not guarantee that patients return or accept treatment. What it does is leave a baseline and an explanation on record, so the next conversation starts from the last one. That is where continuous care through QBLISScare begins.
FAQ
Q. How long does it take to get comfortable after Qray adoption?
A. There is no fixed timeline. What users had in common was routine rather than time. Decide who captures, when, and which views first, and month one goes faster.
Q. Does the dentist have to take every image?
A. In many practices, assistants handle Qraycam Pro capture and walk patients through the images, while the dentist checks suspicious sites and makes the final call. Practicing the rest position and the standard views together early helps assistant images become consistent quickly.
Q. If I see red fluorescence, should I recommend treatment every time?
A. No. Red fluorescence is information that supports a closer look. Whether and when to treat is the clinician's decision, made with other findings and the patient's risk and preferences. If you choose to monitor, re-image under the same conditions at the next visit and compare.